

Table of contents

No headings in the article.
In the first part of this series, I showed how you can easily import data from a csv / excel file without any package (just plain PHP /Laravel codes). In this tutorial, I am going to do the same (demonstrate how to import data from a csv file) using a Laravel plugin / package. The package I intend to use is called Maatwebsite/excel. This package allows us to easily import data to a collection / model, insert imports in batches and even export the collections to excel / csv (among other features). You can read more about the package here . The scenario ( example) will be the same with what I described in the first part of the tutorial (click here for a quick refresh ). However, this time, I am going to solve the same problem using the plugin. Note that we shall be using the same codebase as we did for the first tutorial. We will only create new routes, imports and methods for the new concept we are looking at.
Requirements
To really understand this tutorial you basically need a good / working understanding of PHP / Laravel.
For your application to also work properly, make sure the following PHP extensions are enabled in your system’s PHP installation.
- php-zip
- php-xml
- php-gd2
Furthermore, to have a good understanding or perspective of the example we are using in this tutorial, I’d advise that you take a quick glance at the first part of this tutorial ( here ).
Let’s cut to the chase.
Follow the following steps to successfully import records from an excel, pdf, csv file etc to your database using the maatwebsite package in Laravel.
1. Create Laravel Application
We will create a new Laravel application (This is assuming you did not follow the first tutorial. If you did, you can always continue with the code. Also know that I have updated the project repository. You can clone the project here and work with it). In this example however, we will be using the same application we created in the previous tutorial.
2. Install Maatwebsite
Install the package using the command below
composer require maatwebsite/excel
3. Register Service and publish configuration
Next step is to register the plugin / package in our Laravel application. To do this, add the lines below to your provider and aliases arrays respectively in app.php found inside the config folder
To read more about this package, check their official documentation.
'providers' => [
        ....
        'Maatwebsite\Excel\ExcelServiceProvider',
],
'aliases' => [
        ....
        'Excel' => 'Maatwebsite\Excel\Facades\Excel',
],
Having done that, we then go ahead to publish the configuration using the command below
php artisan vendor:publish –provider="Maatwebsite\Excel\ExcelServiceProvider"
In your program, go to the config folder. You will see an excel.php file in the folder. Inside this file, you can see all the configurations of the plugin. You can tweak the configurations to your own liking.
4. Create route
We shall be creating a new route for this feature. Inside the api.php file, write these lines below
Route::post('/upload-content-with-package',[PlayerController::class,'uploadContentWithPackage'])->name('upload.content.with.package');
Note that you can decide to name your route, controller and method as you deem fit. Also, note that we are using an api system here for faster development. It works the same way for a full web application
5. Create Model
We can create our Player model using the command below
php artisan make:model
The created model is shown below
namespace App\Models;

use Illuminate\Database\Eloquent\Factories\HasFactory;
use Illuminate\Database\Eloquent\Model;

class Player extends Model
{
use HasFactory;
protected $fillable = [
'name',
'club',
'email',
'position',
'age',
'salary'
];
}
6. Create an import class
In this next step, we will be creating an import class for our imports. This is the way it works. The import class is an object (a data transfer object – DTO) that helps to transfer the information we want to upload to the excel reader of the plugin. This will help to structure our imports. Invariably, this means that your code won’t have a direct access to the read operation process. This is quite different from the approach we used in the first tutorial.
Basically, to create a new import, write the following command
php artisan make:import PlayersImport –model=Player
The –model flag, helps us to associate this import to the “Player” model we created earlier. Automatically, the Player model will be imported in the import class.
The newly created import class PlayersImport.php will be located in apps/imports folder.
<?php

namespace App\Imports;

use App\Models\Player; //Automatically imported since we added the model flag
use Maatwebsite\Excel\Concerns\ToModel;
use Maatwebsite\Excel\Concerns\WithHeadingRow;

class PlayersImport implements ToModel, WithHeadingRow
{
/**
* @param array $row
*
* @return \Illuminate\Database\Eloquent\Model|null
*/
public function model(array $row)
{
//return an eloquent object
return new Player([
'name' => $row['name'],
'club' => $row['club'],
'email' => $row['email'],
'position' => $row['position'],
'age' => $row['age'],
'salary' => $row['salary']
]);
}
}
This is what our Import class looks like. We can see that the Player model is already imported.
Also, we are importing two concerns (ToModel and WithHeadingRow)
The ToModel concern enforces a model method. The model method must return an instance of eloquent model. The returned model will then be saved in the database. (Note that we can import to collection too instead of model. Read the documentation) We use the WithHeadingRow concern because our file has column headings that show the type of values contained in each column (eg. name, salary, age etc). If your file does not have headings, you don’t have to import the WithHeadingRow concern.
This should do the job for us. However, remember that we need to still perform operations on the uploaded record (like sending emails to the players or whatsoever logic you want to perform). This means that we have to modify our import class.
<?php

namespace App\Imports;

use App\Models\Player; //Automatically imported since we added the model flag
use Maatwebsite\Excel\Concerns\ToModel;
use Maatwebsite\Excel\Concerns\WithHeadingRow;

class PlayersImport implements ToModel, WithHeadingRow
{
public $data;

public function __construct()
{
$this->data = collect();
}

/**
* @param array $row
*
* @return \Illuminate\Database\Eloquent\Model|null
*/
public function model(array $row)
{
//return an eloquent object
$model = Player::firstOrCreate([
'name' => $row['name'],
], [
'club' => $row['club'],
'email' => $row['email'],
'position' => $row['position'],
'age' => $row['age'],
'salary' => $row['salary']
]);

$this->data->push($model);

return $model;
}
}
Our import class is actually an example of a plain old PHP object (POPO), hence it can have setters and getters. We put the imported data into a class property of the import object (class). Then, we make a getter for it, so that it can be called after the imports have been saved in the controller. We are saving the imports to the database using Laravel’s eloquent FirstOrCreate method. In our case, this method checks if the name already exist in the database. If it does, it skips the upload to the next item. However, if it does not, it then inserts the record into the database.
7. Create controller and controller methods
If you have not already, create a controller using the command below
php artisan make:controller PlayerController
Also, create a controller method. The controller method is shown below
/**
* Uploads the records in a csv file or excel using maatwebsite package
*
* @param Request $request
* @return mixed
*/
public function uploadContentWithPackage(Request $request)
{
if ($request->file) {
$file = $request->file;
$extension = $file->getClientOriginalExtension(); //Get extension of uploaded file
$fileSize = $file->getSize(); //Get size of uploaded file in bytes

//Checks to see that the valid file types and sizes were uploaded
$this->checkUploadedFileProperties($extension, $fileSize);

$import = new PlayersImport();
Excel::import($import, $request->file);
foreach ($import->data as $user) {
//sends email to all users
$this->sendEmail($user->email, $user->name);
}
//Return a success response with the number if records uploaded
return response()->json([
'message' => $import->data->count() ." records successfully uploaded"
]);

} else {
throw new \Exception('No file was uploaded', Response::HTTP_BAD_REQUEST);
}
}
We first check if a file is uploaded. Next, we get file extension and size. Then, we use this information to check if the upload is valid using the checkUploadedFileProperties method. The method is shown below
/**
* Checks to see that the uploaded file valid and within acceptable size limits
*
* @param string $extension
* @param integer $fileSize
* @return void
*/
public function checkUploadedFileProperties($extension, $fileSize) : void
{
$valid_extension = array("csv", "xlsx"); //Only want csv and excel files
$maxFileSize = 2097152; // Uploaded file size limit is 2mb

if (in_array(strtolower($extension), $valid_extension)) {
if ($fileSize <= $maxFileSize) {
} else {
throw new \Exception('No file was uploaded', Response::HTTP_REQUEST_ENTITY_TOO_LARGE); //413 error

}
} else {
throw new \Exception('Invalid file extension', Response::HTTP_UNSUPPORTED_MEDIA_TYPE); //415 error

}
}
Moving back to the uploadContentWithPackage function, we then import our import object as shown in the function with this line Excel::import($import, $request->file);
This uploads the records to the database, thereafter, we can access the data property of the import class and perform any action that we want (sending a mail in this case). The mail function is shown below
/**
* Sends email to the uploaded players
*
* @param string $email
* @param string $name
* @return void
*/
public function sendEmail($email, $name) :void
{
$data = array(
'email' => $email,
'name' => $name,
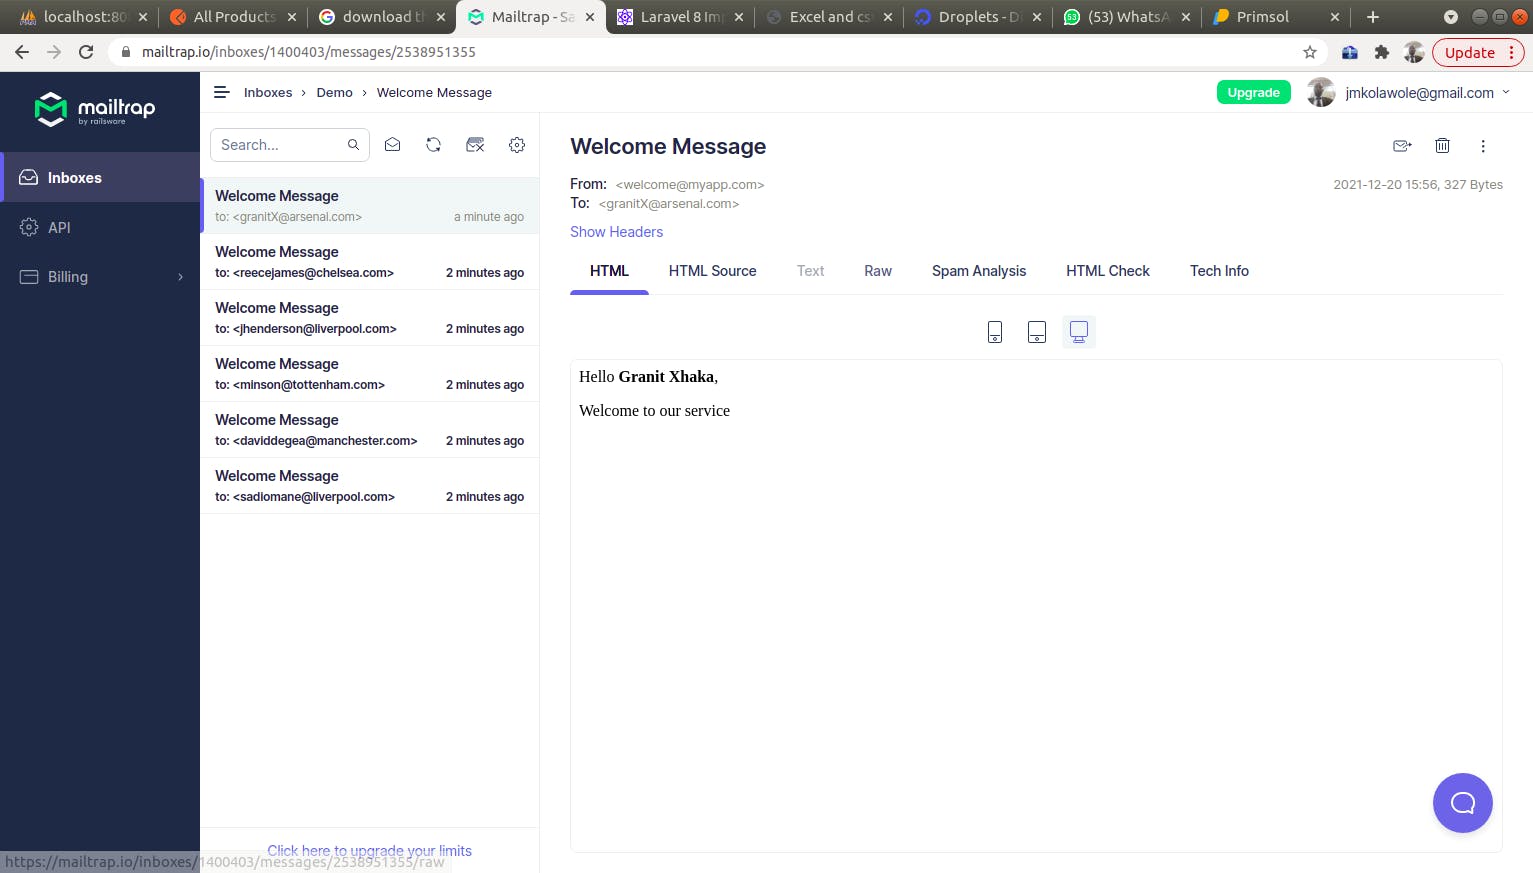
'subject' => 'Welcome Message',
);
Mail::send('welcomeEmail', $data, function ($message) use ($data) {
$message->from('welcome@myapp.com');
$message->to($data['email']);
$message->subject($data['subject']);
});
}
After the upload has been done, we return a success message with the number of records uploaded
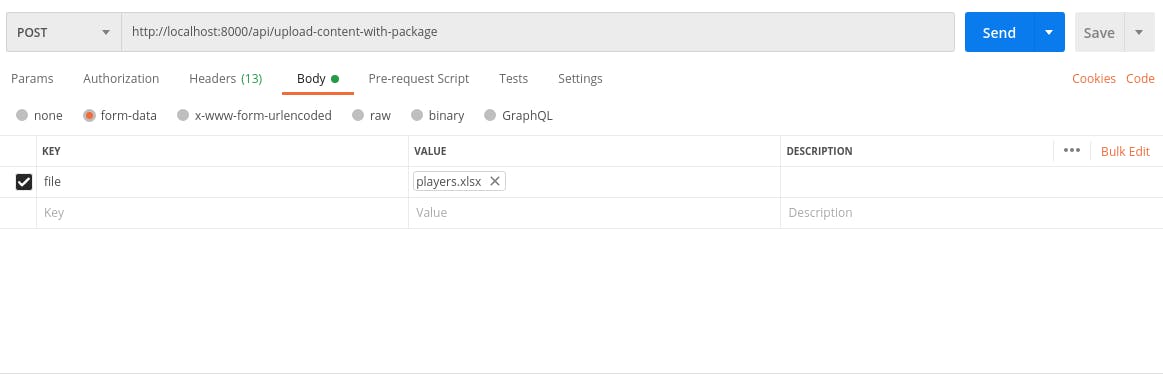
8. Test
We can now test our upload using postman
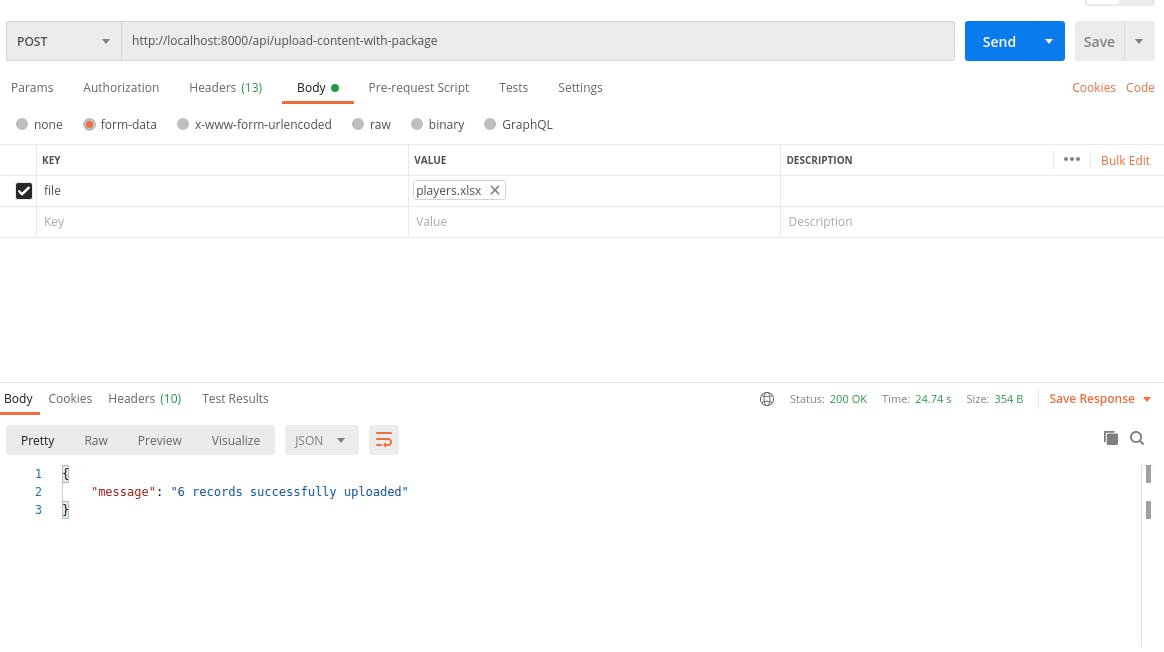
After clicking the send button, if the upload was successful, we should see the response as shown below
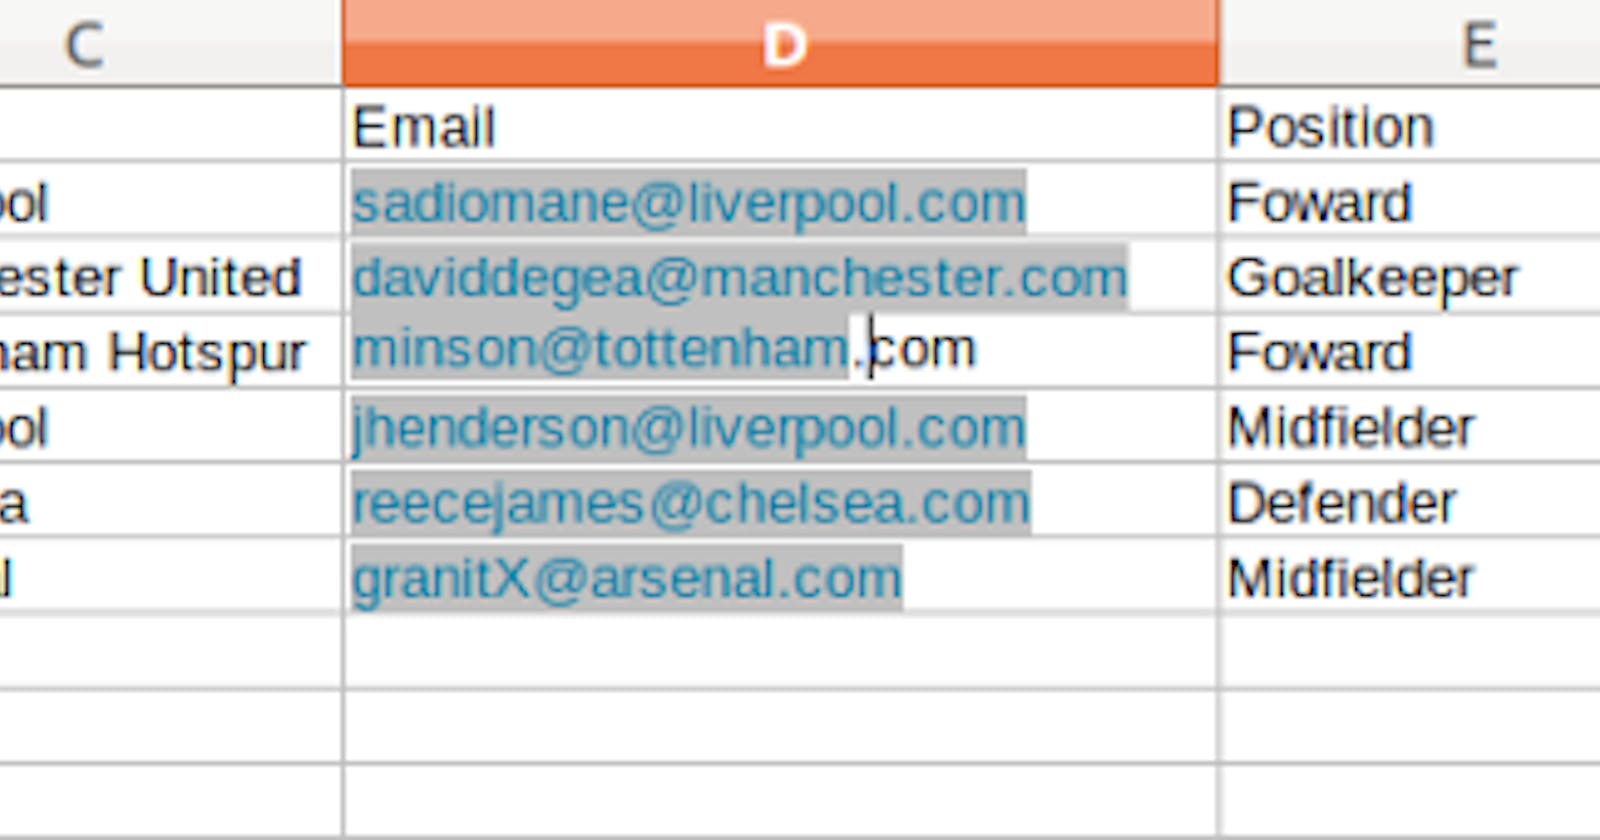
Also, we can also see that the mail has been sent to all the players
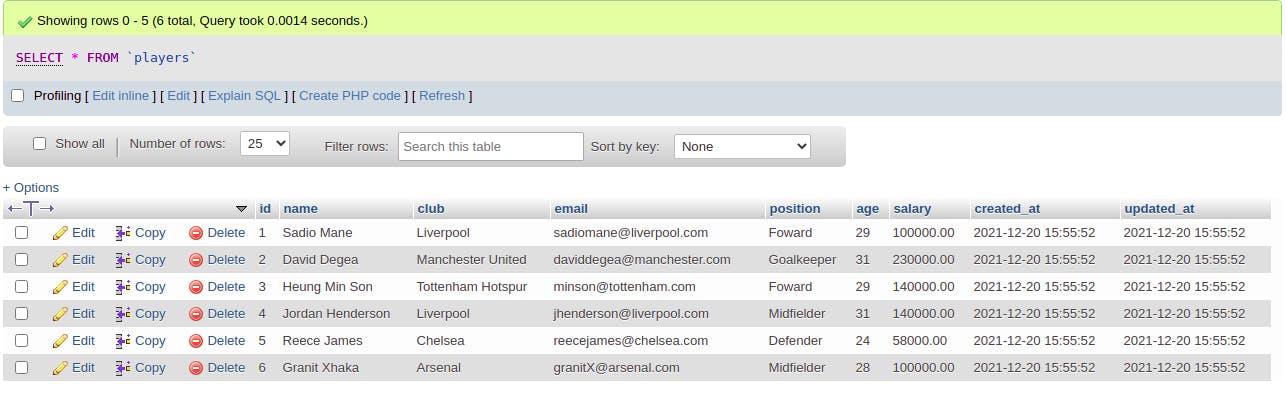
Finally, if we check our database, we will see that the records have been successfully uploaded