

Hosting Your Laravel App on Heroku


As a developer, there are times when you just need to quickly host an application online for testing or even showing progress to your clients. In such cases, you may not necessarily need to buy a hosting service (yet) since you just need where to host your application for testing purpose. In this tutorial, we shall be looking into hosting a Laravel application on Heroku free of charge. Heroku supports various programming languages such as PHP, JS, Ruby on rails, Phyton. It is a great way to put your application online, whether it is a real web application or you are just looking for a place to host your REST API.
What is Heroku?
According to Heroku website, “Heroku is a platform as a service (PaaS) that enables developers to build, run and operate applications entirely in the cloud”. In essence, developers use Heroku to deploy, manage and scale their applications. There are different plans that you can opt for on the Heroku website. Also, Heroku offer a free plan that can help you learn how the platform works and get started very quickly. Note that this tutorial is not an advertisement for Heroku as there are other platforms that are good alternatives to Heroku. However, I use Heroku when I need to deploy an application fast for testing purposes and I have enjoyed their services so far. Safe to say this is a platform I am very comfortable working on. If you need to learn more about Heroku, you can go to their website to learn more.
Hosting A fresh Laravel application on Heroku
You can host a Laravel application or website on Heroku. It’s a very seamless process. If You follow the steps in this tutorial, you will find it very easy. First and foremost, we need to create a Laravel application. Also, for us to incorporate a database into our application, we will create one and also create a very simple REST API that communicates with it. The Database we will use for this tutorial is PostgreSQL.
Step 1 Sign up on Heroku
Step 2 - Download and install Heroku CLI
Go to the site, download and install Heroku-CLI for your operating system. This will allow us to use the Heroku Command line interface when we are deploying the application.
Step 3 – Generate a fresh Laravel Application and build API
Navigate to a specific folder on your system that you want the application to reside in. Open your cmd, navigate to that folder, or use gitbash. Type the following to generate a fresh Laravel 8 application.
composer create-project --prefer-dist laravel/Laravel <name-of-app>
We shall be naming our app herokuApp. Hence, the command above becomes:
composer create-project --prefer-dist Laravel/Laravel herokuApp
This will create a new project as herokuApp.
After this, on the command line type cd herokuApp to move into the app folder. Once in the folder, type php artisan serve to start your Laravel server. You will see this. Our local Laravel application is now up and running.
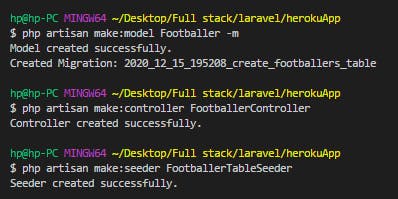
Alternatively, you can move the project folder inside your ‘htdocs’ folder if you use XAMPP or the “www” folder if you use WAMP. Open as you would a normal PHP project. You can now create your model, migrations, controller and seeder for the database. The -m flag on the “php artisan make:model Footballer -m” helps us create a model and the corresponding migration table with a single command.
Next, update your migrations table and add the fields you need as shown below.
<?php

use Illuminate\Database\Migrations\Migration;
use Illuminate\Database\Schema\Blueprint;
use Illuminate\Support\Facades\Schema;

class CreateFootballersTable extends Migration
{
    /**
     * Run the migrations.
     *
     * @return void
     */
    public function up()
    {
        Schema::create('footballers', function (Blueprint $table) {
            $table->id();
            $table->string('name');
            $table->string('position');
            $table->timestamps();
        });
    }

    /**
     * Reverse the migrations.
     *
     * @return void
     */
    public function down()
    {
        Schema::dropIfExists('footballers');
    }

}
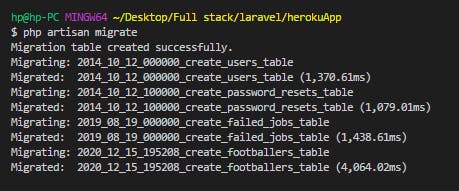
Run “php artisan migrate” to create the tables
Open your FootballerTableSeeder.php located in database\seeder directory, and edit as shown below. This will help us populate the table with data.
<?php

namespace Database\Seeders;

use Illuminate\Database\Seeder;
use App\Models\Footballer;

class FootballerTableSeeder extends Seeder
{
    /**
     * Run the database seeds.
     *
     * @return void
     */
    public function run()
    {
        //
        //This resets the table, deleting all the data everytime the function is called.
        Footballer::truncate();

        Footballer::create([
            'name' => 'Sadio Mane',
            'position' => 'Winger',
        ]);

        Footballer::create([
            'name' => 'Oxlade Chamberlain',
            'position' => 'Midfielder',
        ]);

        Footballer::create([
            'name' => 'Virgil Van Dijk',
            'position' => 'Defender',
        ]);

        Footballer::create([
            'name' => 'Allison Becker',
            'position' => 'Goalkeeper',
        ]);

    }
}
Next, call the table in the DatabaseSeeder.php located in the same folder as shown below.
<?php

namespace Database\Seeders;

use Illuminate\Database\Seeder;

class DatabaseSeeder extends Seeder
{
    /**
     * Seed the application's database.
     *
     * @return void
     */
    public function run()
    {
        $this->call(FootballerTableSeeder::class);
    }
}
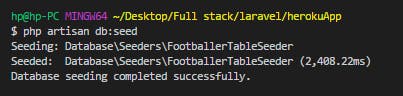
Run “php artisan db:seed” to actually seed the table
This is a picture of our database. You can see that the data have been successfully saved in the database.

Now, lets create two API endpoints in the api.php file located in the routes folder as shown below.
<?php

use Illuminate\Http\Request;
use Illuminate\Support\Facades\Route;

//Import Controller
use App\Http\Controllers\FootballerController;

/*
|--------------------------------------------------------------------------
| API Routes
|--------------------------------------------------------------------------
|
| Here is where you can register API routes for your application. These
| routes are loaded by the RouteServiceProvider within a group which
| is assigned the "api" middleware group. Enjoy building your API!
|
*/

Route::middleware('auth:api')->get('/user', function (Request $request) {
    return $request->user();
});

Route::get('/footballers', [FootballerController::class, 'index'])->name('show.footballers');
Route::get('/footballers/{id}', [FootballerController::class, 'show'])->name('show.footballer');
Let us now create the index and the show functions in our controller to handle the logic.
<?php

namespace App\Http\Controllers;

use Illuminate\Http\Request;

use App\Models\Footballer;

class FootballerController extends Controller
{
    //
    public function index(){
        $footballers = Footballer::get()->toJson(JSON_PRETTY_PRINT);
        return response($footballers, 200);
    }

    public function show($id=null){
        $footballer = Footballer::where('id', $id)->first();

        //You can also use
        /*
        $footballer = Footballer::find($id);*/

        if($footballer){
         $footballer = $footballer->toJson(JSON_PRETTY_PRINT);
         return response($footballer, 200);
        }
        else{
            return response()->json([
                "message" => "Footballer not found",
              ], 404);
        }
    }
}
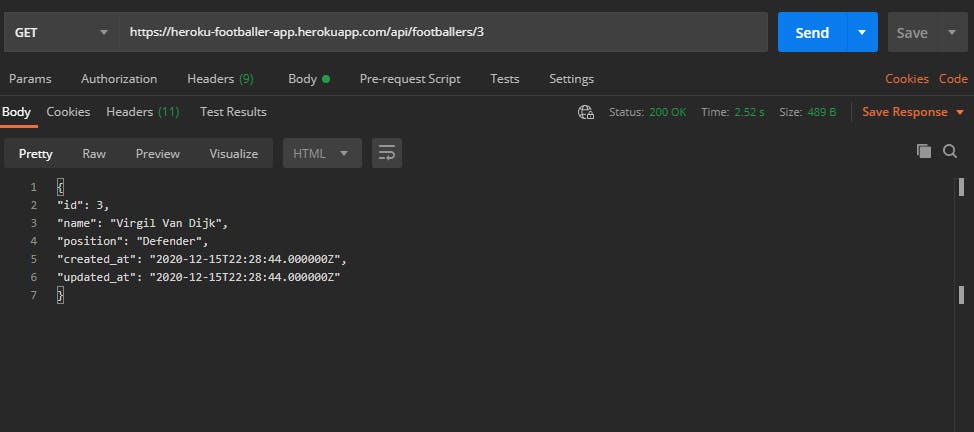
The endpoints can now be reached at localhost:8000/api/footballers and localhost:8000/api/footballers/{id}.
Note that Laravel appends api automatically to your api path.

Step 4 – Create a Procfile
This is a kind of configuration file for Heroku. It helps to specify the commands that are executed by the app on startup. For example, you can put your app’s web server or worker processes etc.

After creating the procfile, add the following to the file web: vendor/bin/heroku-php-apache2 public/
Step 5: Initialize git, add files and commit
We need to get the source code to Heroku. We will do this with the Git version control. First and foremost, you have to initialize a git repository.
Type git init
Laravel puts the files that are not needed or that should not be seen by the public in it’s .gitignore file by default. But if you are building an application (that is probably not Laravel), you should worry about creating a .gitignore file and adding these secret files and configs to it so that they won’t be tracked by Git.
Add the files for staging and commit them using git add . then git commit -m “message here”
Step 6 – Log in to Heroku
To login to Heroku, type Heroku login and follow the prompt.

I was shown this because I have used it recently. If this were to be my first login attempt, I would have been asked for my email and password.
Step 7 – Create Heroku Application
Now, let’s move to Heroku fully. To create an application on Heroku, type heroku create app (name of app). If you do not put a name for the app, Heroku will create a random name and url for it, however if the name already exists on the Heroku platform, you will have to find a new unique one.

Now, if we go to our Heroku dashboard, we will see that our application has been created already.


If you type “git remote -v”, you will see that Heroku has already supplied the correct path.

Step 8 – Push your codes to Heroku and initial setup
To push the code to Heroku, run the command “git push Heroku master”. This will push the code to Heroku, set up everything and install the dependencies needed.

You can also see it on the dashboard that we want to use Apache server based on the information we supplied to our Procfile.
Now, let us open the application. Click on the “Open app” button. You’ll get a Server error as shown below.
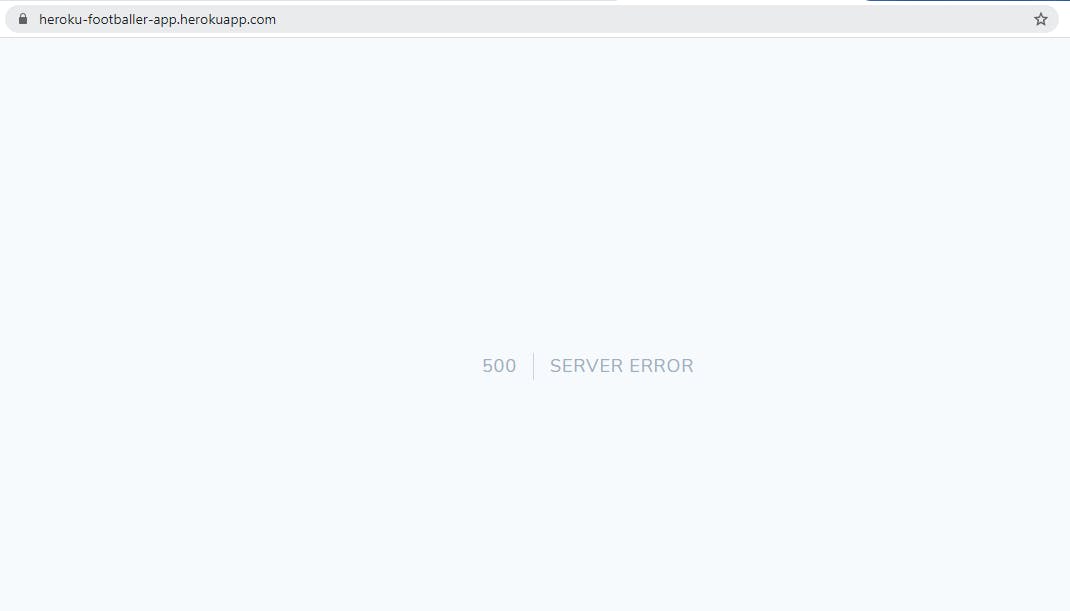
This is happening because our environment config variables needed for the application to work, which are located in our .env file (in the root directory) are not on heroku yet. We can add these config variables in two ways
a. Add from your Heroku dashboard
b. Add from Heroku CLI
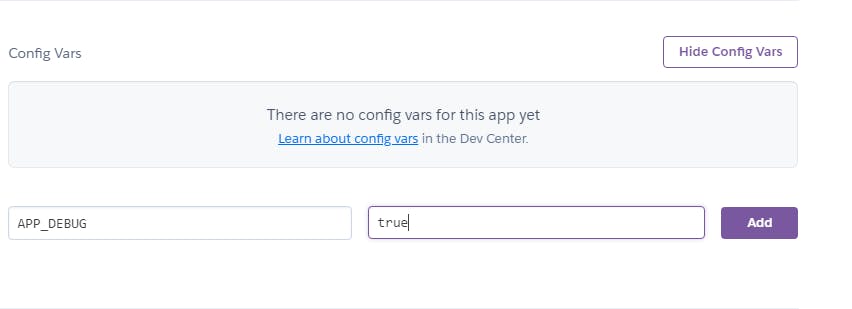
I will show you the two methods To add from the dashboard, go to settings and click on reveal config vars.
First let us add APP_DEBUG=true. This will allow us to see the specific errors instead of the generic 500 || Server Error
If we refresh the page, we can now see what the actual error is. Since APP_DEBUG has been enabled, Laravel is telling us what is wrong. No application key
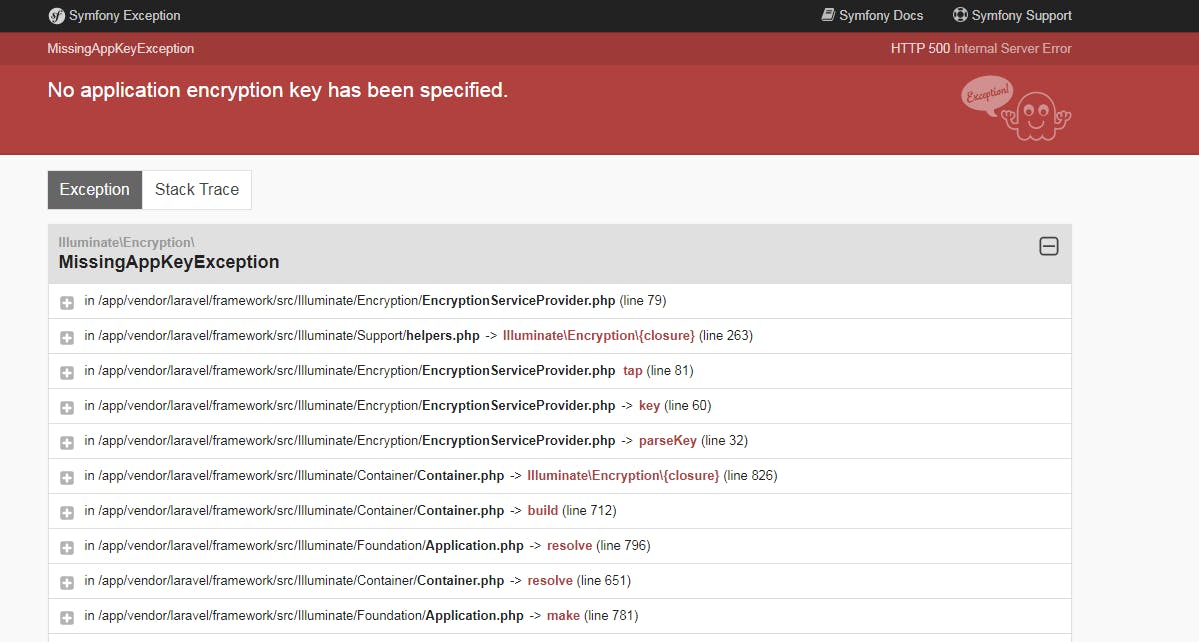
Copy the application key in your .env file and save it in Config Vars under settings as we did for the APP_DEBUG
APP_KEY=value (check your .env file for this)
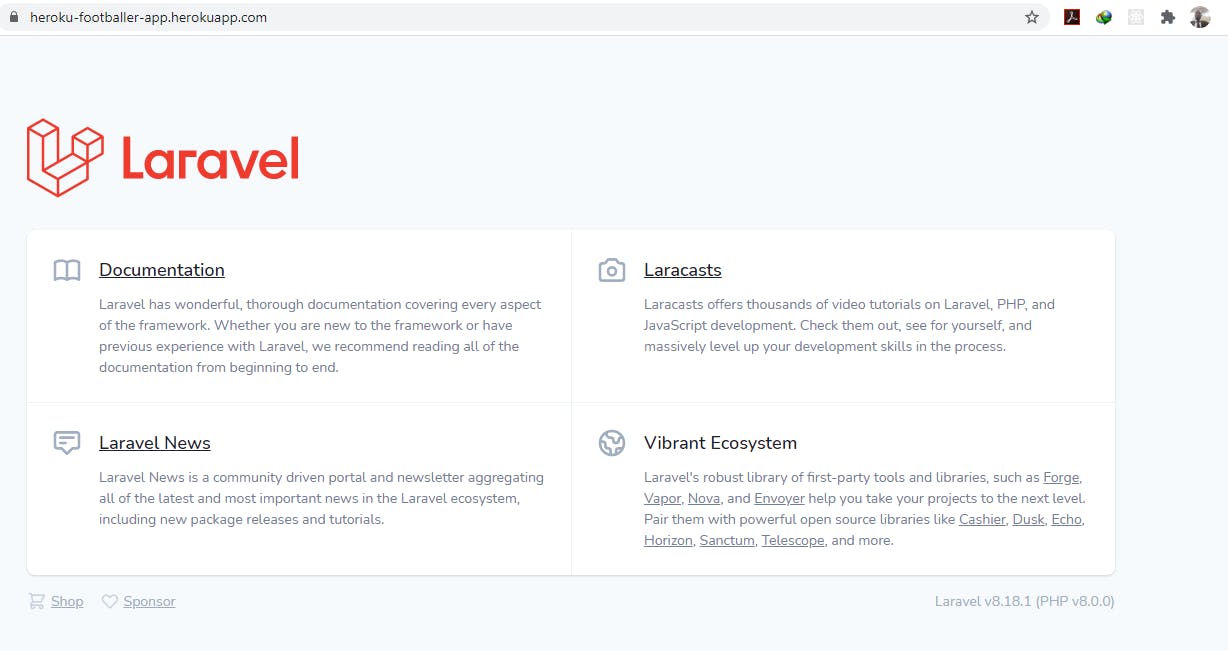
Now, if we refresh again, we will see that the application is up and running as shown in the image below.
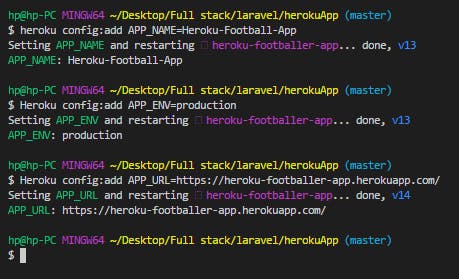
We need to set the rest of the application configuration variables. We will do this using the second method (Heroku CLI).
We will use the command heroku config:add ENV_CONFIG=value For instance, let us add APP_NAME, APP_ENV and APP_URL to the config variables.
heroku config:add APP_NAME=Heroku-Football-App (Use the name of your app here)
heroku config:add APP_ENV=production
heroku config:add APP_NAME= https://heroku-footballer-app.herokuapp.com/ (Use the url of your app here)
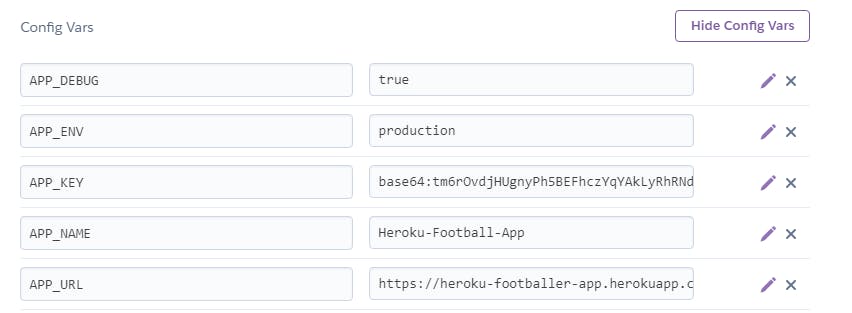
Let’s now take a look at our config variables on Heroku. You will see that the variables have been added to the list of config variables already.
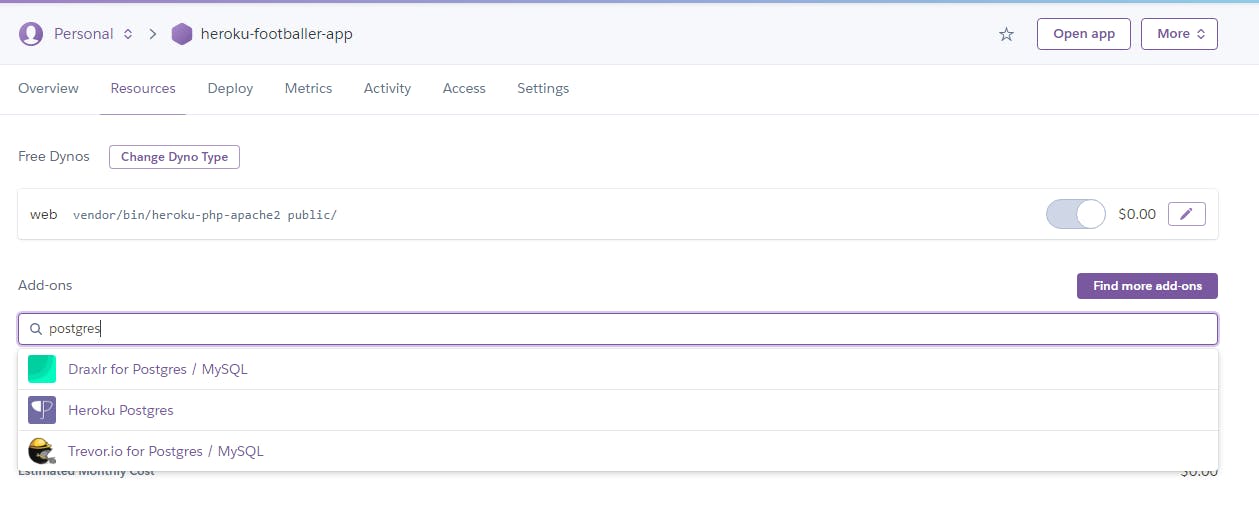
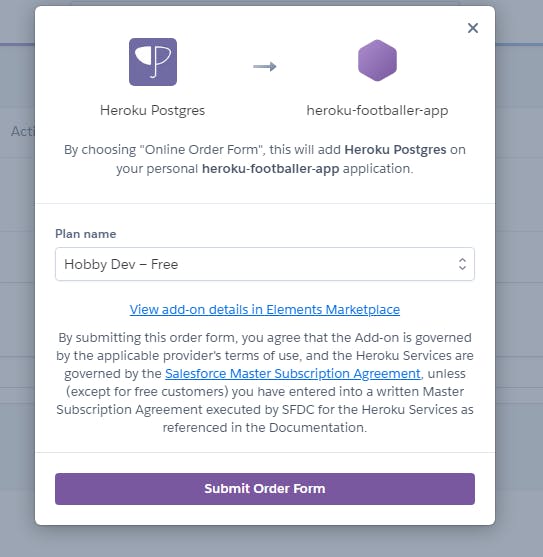
Step 9 – Create Database
Hurray. Our Laravel Application is now live on Heroku. This is however just half of the journey. We’ll need to connect our database to our application. We will be using PostgreSQL. You can use any database you want, MySQL, MongoDB etc. I find the PostgreSQL easy to implement on Heroku. It is very similar to MySQL that we used in our local environment. Plus, they have a very friendly free package. I have used the hobby dev plan which is free in this tutorial. You can also get the paid version if you need more scalability and capability. So, to use the database, we will install it as an addon.
Step 10 – Get Database credentials
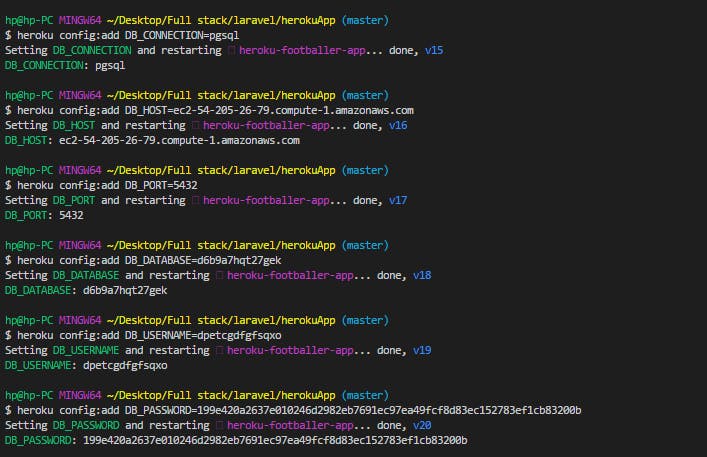
We need to get the credentials of this database so we can integrate it with our application. This will give us the database login information such as CONNECTION, NAME, PORT, USERNAME, PASSWORD and HOST. Luckily for us, it takes only a line of command on the Heroku CLI to get this done. This will bring out all the variables needed to set up your database.
Type heroku pg:credentials:url

First, we need to add the DB_CONNECTION as pgsql, then we add the database config variables to our list of config vars.
Step 11 – Migrate and seed your tables
Now that our database is set up, let us run our migrations. To do this, run heroku run php artisan migrate
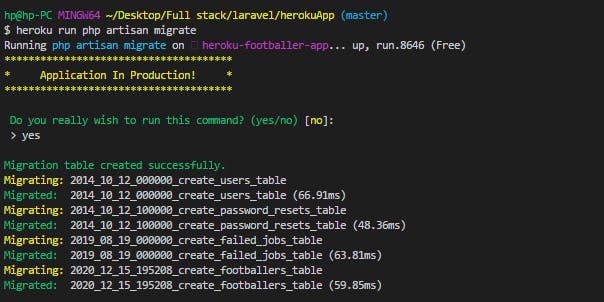
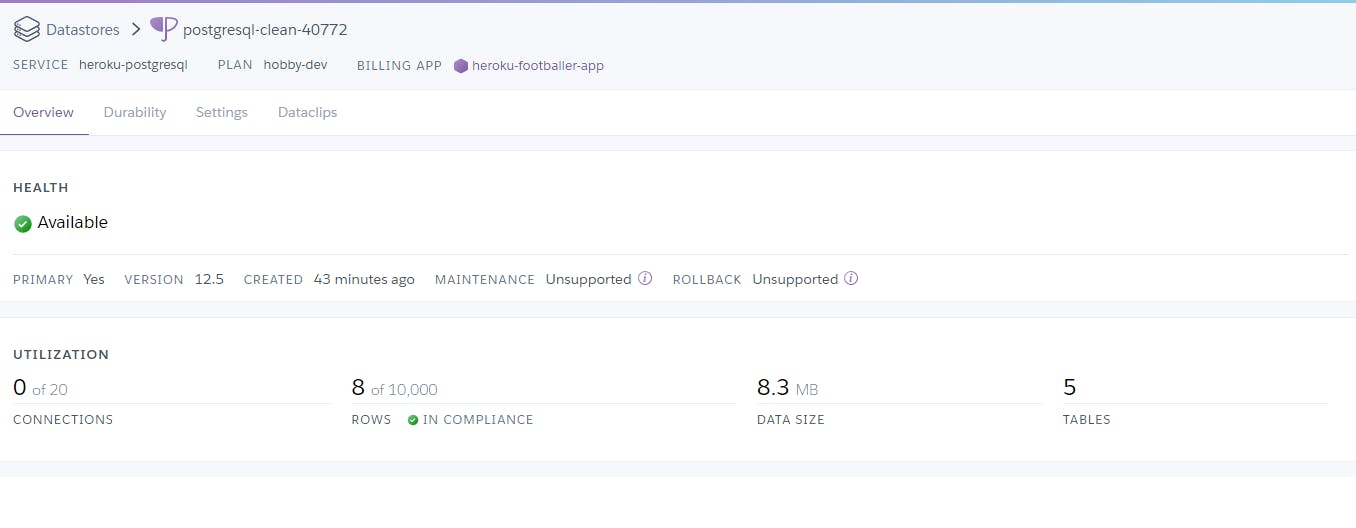
On Heroku, under Resources, click the Database, you will see that the database now has all the tables from our migration.
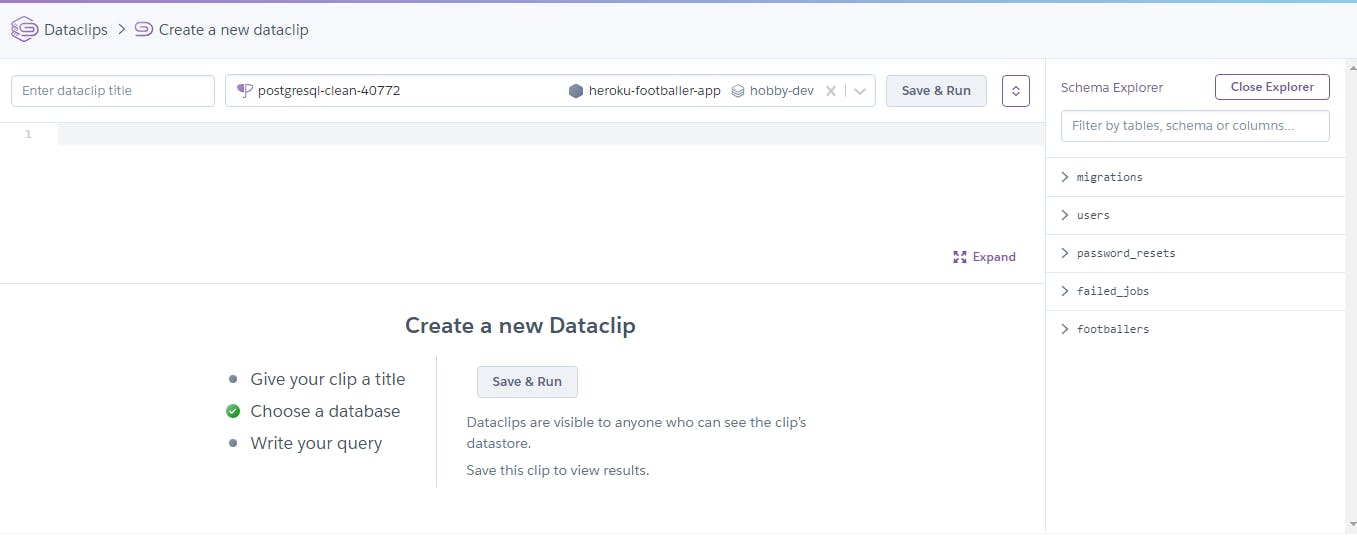
Furthermore, to see all the tables in our database and perform SQL queries, click on the “DataClips” menu.
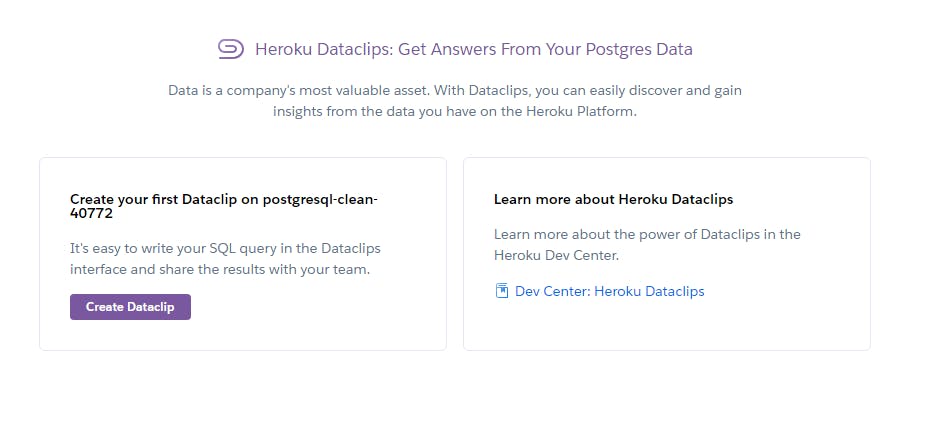
Click on “Create Dataclip”
Let us now seed our database with some data as we did with the local version of our application.
heroku run php artisan db:seed
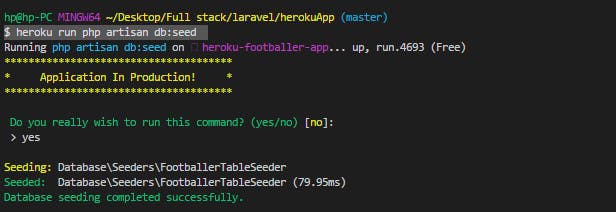
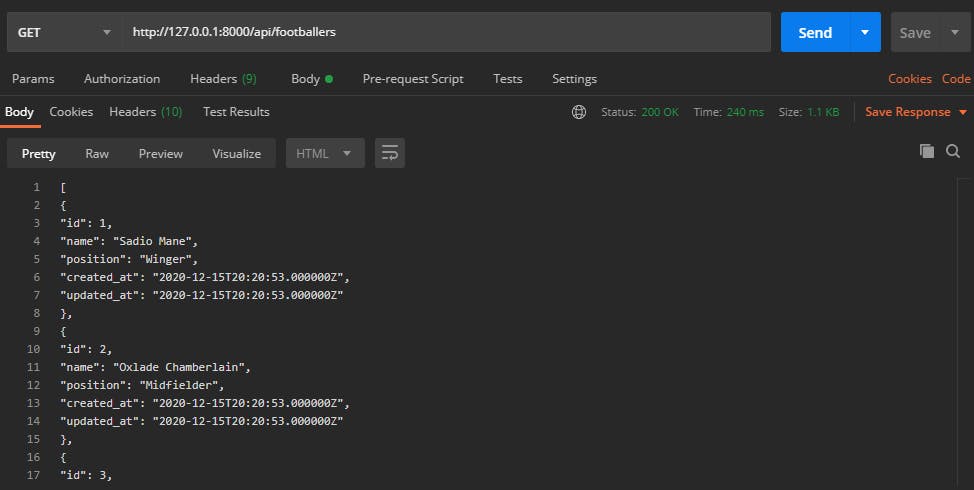
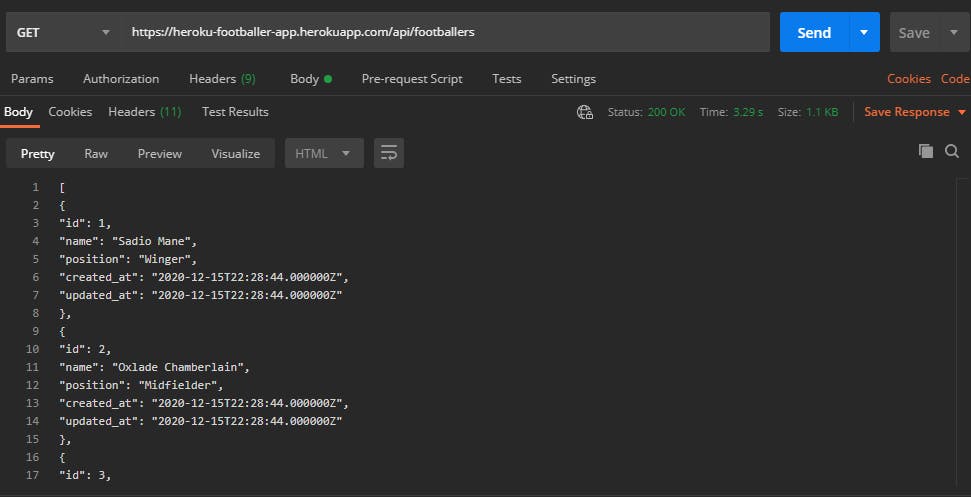
Step 12 – Test on Postman
You’ve made it. Our application is 100% completed. Now, let us test it on Postman. We will test the same endpoints we tested in the local version.
Step 13: Bonus Step
In case you made a mistake or there are additions to your code, just do the following:
a. git add .
b. git commit -m “message”
c. git heroku push master
Thanks for reading.